

Popular Coin POP Crypto Currency Now Has An Android Wallet App That You Can Download From The Google Playstore And Install On Your Android Device! Visit the PlayStore at: https://play.google.com/store/apps/details?id=com.popularcoin.wallet
Here we will take you on a tour of the Popular Coin POP Android Wallet and teach you how to use its great features safely.
- Install from Google Playstore
- Create a New Wallet
- Create Pass Phrase, Password, and 4 Digit Pin
- Visit the Settings Tab
- Find Your Wallets Public Address and Fill The Wallet with POP
- View Your Wallets Balance and See Transactions
- Send POP Coins to Another Popular Coin POP Wallet Address
- Backup and Restore
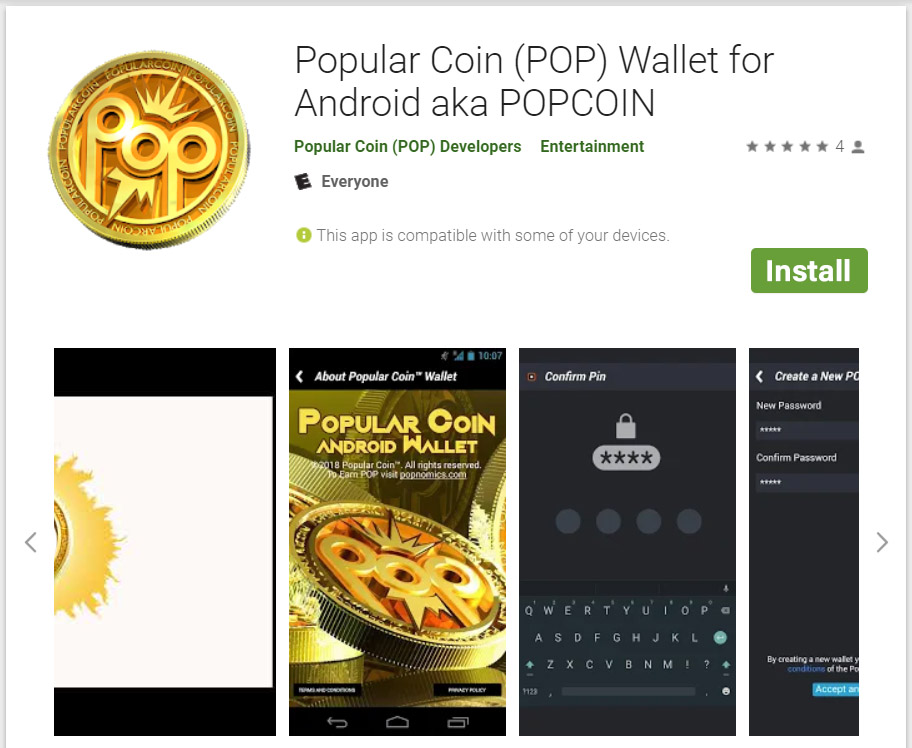
1. Install the Popular Coin POP Android Wallet App
Goto the google playstore and install the app. Just visit this link and find the Popular Coin Android Wallet app and Select the Install Button: https://play.google.com/store/apps/details?id=com.popularcoin.wallet
2. Create a New Wallet
Now that you have installed the Popular Coin POP wallet, you will reach the wallet install page. On the wallet install page you have the option of recovering a previous android wallet or creating a new one. In our case for now we are going to create a brand new wallet with a new recovery phrase and new passwords.
Here you will just select the button “Create One” next to “Do you have a wallet?” This will begin the process of collecting your new passphrase, password, and pin.

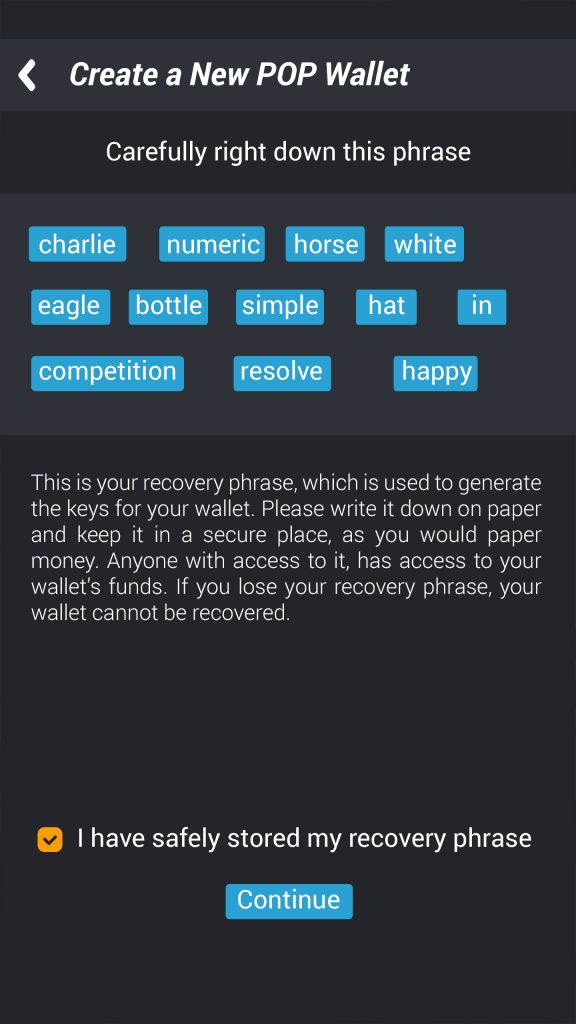
3. Create Pass Phrase, Password, and 4 Digit Pin
Now that you have installed and created your new Popular Coin POP wallet you will be directed to save your passphrase, create a withdrawal password and to create a login pin code.
- Wallet Passphrase is auto-randomly created and you are prompted to save it. This Passphrase is crucial to unlocking your wallet if you ever loose your device so be sure to save the passphrase on a piece of paper in a 100% safe place. Once you have saved your wallet passphrase press the continue button to move to the next step.
- Wallet withdrawal Password. Now you will be prompted to create a Password for your wallet. This password will be used whenever you attempt to make a withdrawal you will need to use this password so make sure it is safe.
- Create 4 Digit Pin code for logging in to your wallet. Every time you open the Popular Coin POP Android wallet on your android device, you will be asked for your pin.

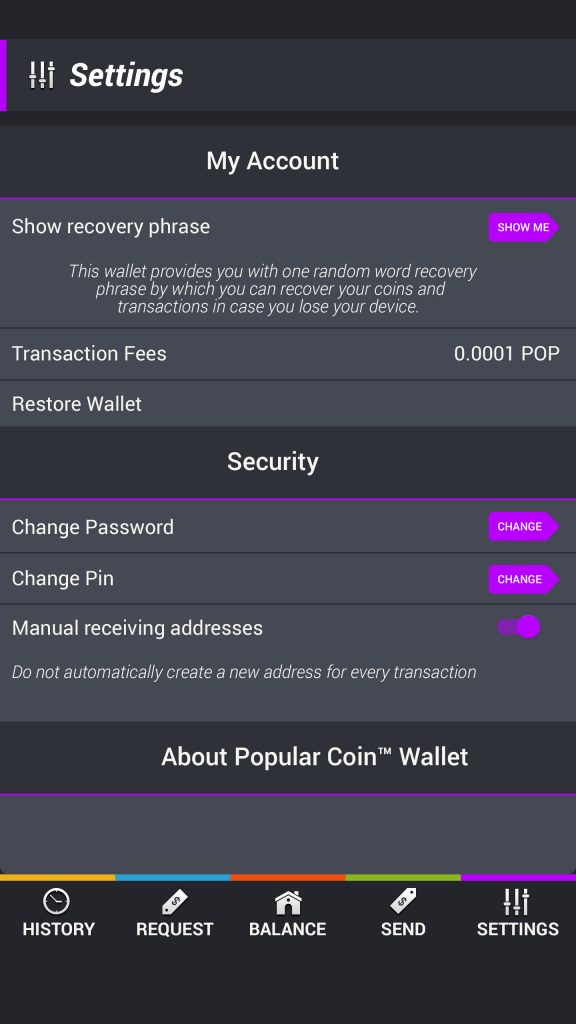
4. Visit the Settings Tab
Now that you have set up your security phrases on your wallet you can visit the settings page and adjust anything you wish.
- View your recovery passphrase
- Transaction fees
- Restore a previous wallet using pass phrase
- Change your password
- Change your pin
- Set your manual receiving address
- Available links to terms and other documentation
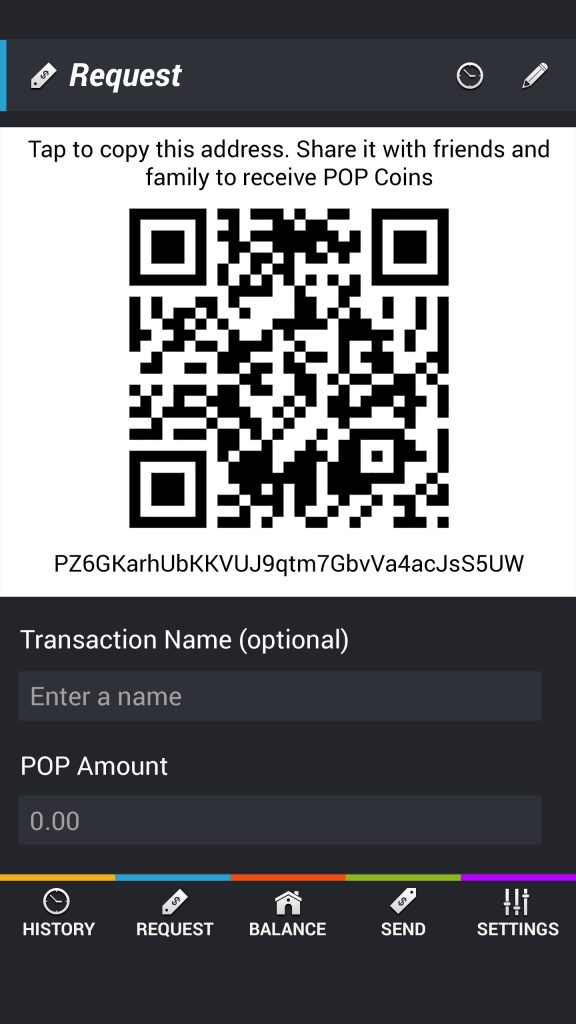
5. Find your POP Address and Fill Your Wallet
Now you are ready to receive POP and fill up your wallet!
In the request tab you will find your wallet address which is the 32 digit string that starts with a P. If you need to you can use a qr code reader to read this code and save it. It will look something like this: PiE6Na74CmtifvYsxgyjpTHoeTiEC2Jv8w
Now you can use that address to send POP to your Android Popular Coin POP Wallet.
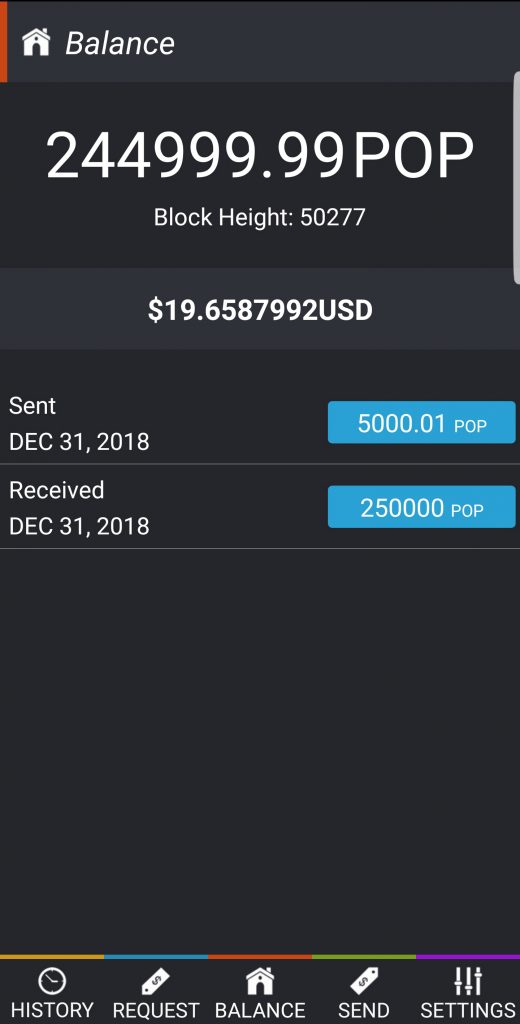
6. View Your Wallets Balance
Now that you have sent POP to your Android wallet click on the balance tab and you will be able to view the total amount of POP that you have now on your Android Device!
Here along with your wallet balance in POP you can see a realtime calculation of your POP total wallet value in USD based on aggregated live market data.
In your balance tab you can also view a summary of your transactions. To view all transactions select the history tab.
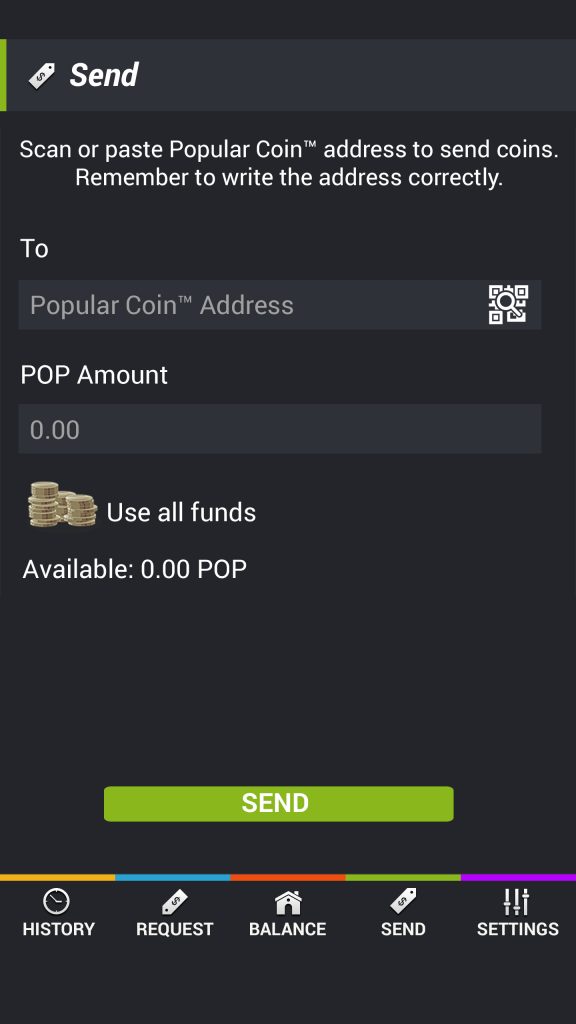
7. Send POP From Your Wallet
Now that your wallet is funded with POP you can use it to make purchases! All you have to do is acquire the other persons wallet address, again it starts with P just like yours.
Tip: Here is a great trick about this wallet, all you need is a QR Code, this Popular Coin POP Android Wallet has a built in QR Code Reader! Just click the white button with a QR Code and Search in the icon! It will open up your camera and allow you to take a snapshot of the QR Code that you want to read! If it is a Popular Coin Wallet Address You will now have the ability to Send any available amount of POP from your Android device!
8. Backup and Restore Old Wallet
The last important thing to know about the Popular Coin POP Android Wallet is the Security of what you need to Backup and Restore a wallet.
Now that your wallet is installed it is crucial that you save the PassPhrase in a safe Place and Remember the Password. The PassPhrase will be Auto-Randomly created for you, you must save it in a safe place. The best way would be to right it down and hide it.
If for some reason you need to install the wallet on a different Android device, all you have to do is reinstall the wallet and then use the PassPhrase when your are launching the wallet on the wallets opening page!
Congratulations! You Have Now Installed Your Popular Coin POP Android Wallet and You Know How To Use It Safely!
Join the Popular Coin (POP) Team on POPNOMICS™ where you get Paid POP Daily for Participating in Social Media! at POPNOMICS™ “The Social Media That Pays”

